Many Montreal homeowners want to add a floor-mounted air conditioner to combat humid summers and chilly winters. Climate Solutions offers this in-depth walkthrough—from tool prep to refrigerant charging—so you can evaluate whether to DIY or schedule professional HVAC installation in the Greater Montreal area.
Equipment Checklist for Installation
- Level and tape measure
- Screwdrivers (flat and Philips)
- Electric drill with bits and hammer drill function
- Torque wrench and open-end wrench set
- Copper pipe cutter
- Vacuum pump and refrigerant manifold gauge
- Multimeter for voltage verification
- Hex keys (Allen wrenches)
- Waterproof sealing tape
Key Installation Steps
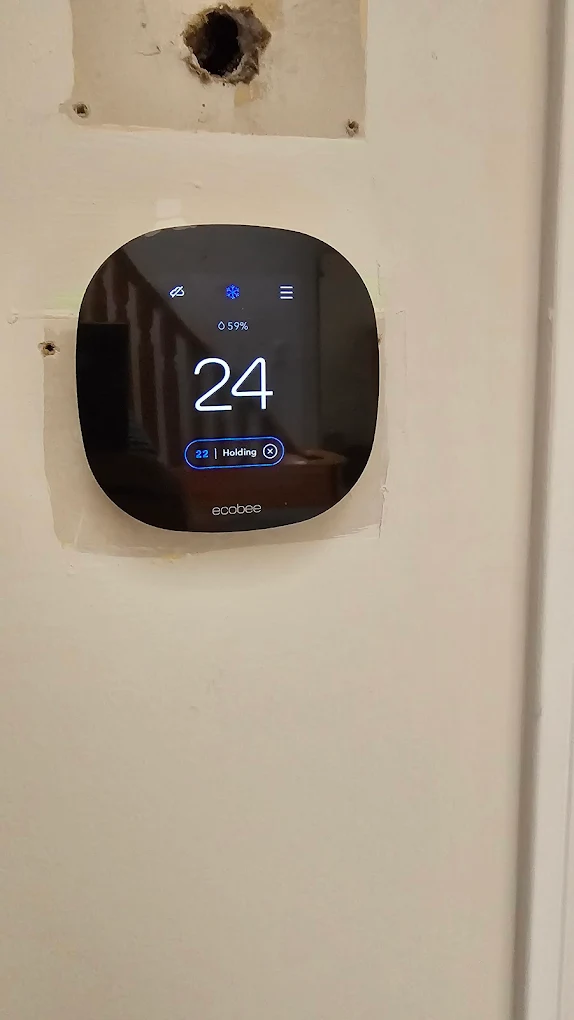
Electrical Requirements
- Dedicated Circuit: Install a separate 230 V line with the proper amperage to handle the higher power draw of a floor-mounted AC unit.
- Circuit Breaker & Wiring: Use a double-pole breaker sized per the unit’s specifications and run appropriately gauged copper wiring.
- Grounding & Safety: Ensure reliable grounding and test for proper earthing to reduce shock risk—especially important during damp Montreal springs.
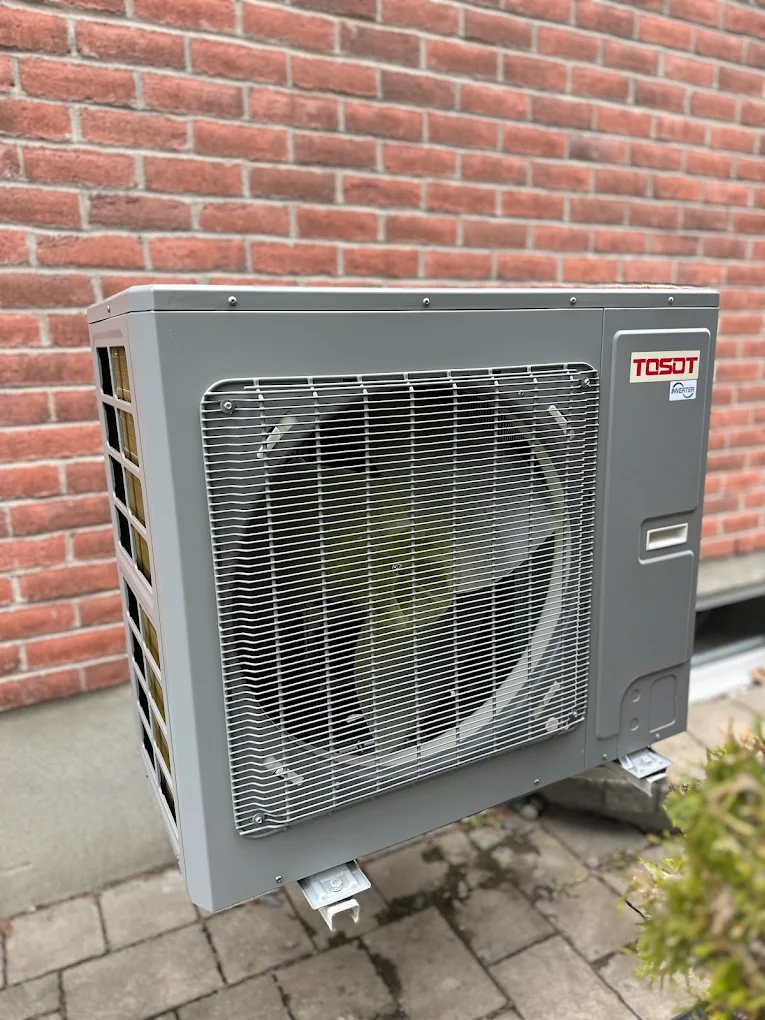
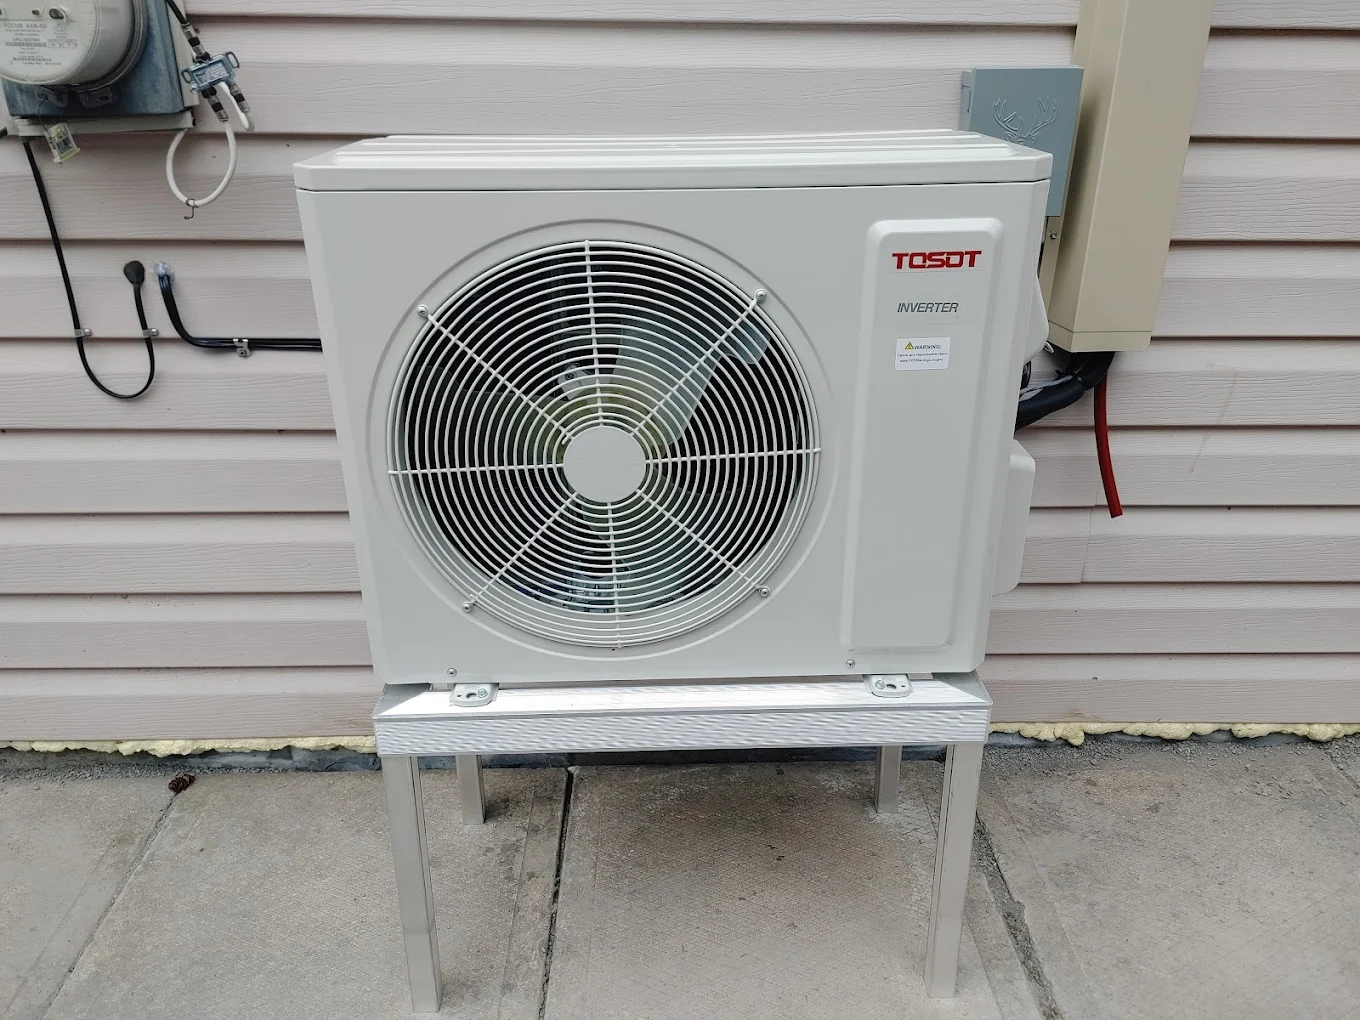
Positioning & Mounting
- Level Surface: Set the unit on a stable, flat floor—avoid laundry rooms or high-moisture areas where dripping condensate could cause damage.
- Clearance: Maintain at least 30 cm (12 inches) on all sides to support airflow and simplify future maintenance.
- Sunlight Exposure: Shield the unit from direct sun to boost efficiency during heat waves.
Condensate Drain System
- Proper Slope: Angle the drain line downward at a minimum ratio of 1:100 to encourage smooth water flow.
- Sealed Joints: Wrap all connections with waterproof tape or approved sealant to prevent leaks that could freeze in winter.
- Insulation: Protect drain piping with foam sleeves to avoid ice build-up against basement walls.
Refrigerant & Pressure Balance
- Refrigerant Charge: Most floor-mounted models arrive pre-charged for a 5 m line set; longer runs will require additional refrigerant per manufacturer specs.
- Vacuum Procedure: Evacuate the system to around -0.1 MPa for 10–15 minutes, then monitor pressure for stability before opening service valves.
DIY Considerations: Is Self-Installation Right for You?
- Technical Expertise: You must be comfortable with high-voltage wiring, copper piping, and precise component alignment.
- Safety Risks: Mishandling refrigerant lines or wiring can lead to leaks, electrical faults, or voided warranties.
- Warranty & Code Compliance: Most manufacturers require certified installers to maintain warranty coverage and meet local building codes in Montreal.
Comparing Wall-Mounted Mini-Splits & Floor Units
Both systems share split-type refrigerant loops, but floor-mounted models eliminate the high‐level wall bracket. This reduces the physical strain of mounting—but the electrical demands are often greater due to higher horsepower compressors.
Final Recommendations
Installing a floor-mounted AC involves careful attention to electrical setup, drainage, and refrigerant handling—especially in a climate with freeze-thaw cycles like Montreal’s. While experienced DIYers may manage the work, most homeowners benefit from Climate Solutions’ licensed technicians. We ensure safe, energy-efficient operation and full compliance with Greater Montreal codes.
Ready to upgrade your home’s comfort? Contact Climate Solutions for turnkey HVAC service tailored to Montreal’s unique weather challenges.